Welcome to the World of Scrypt Mining
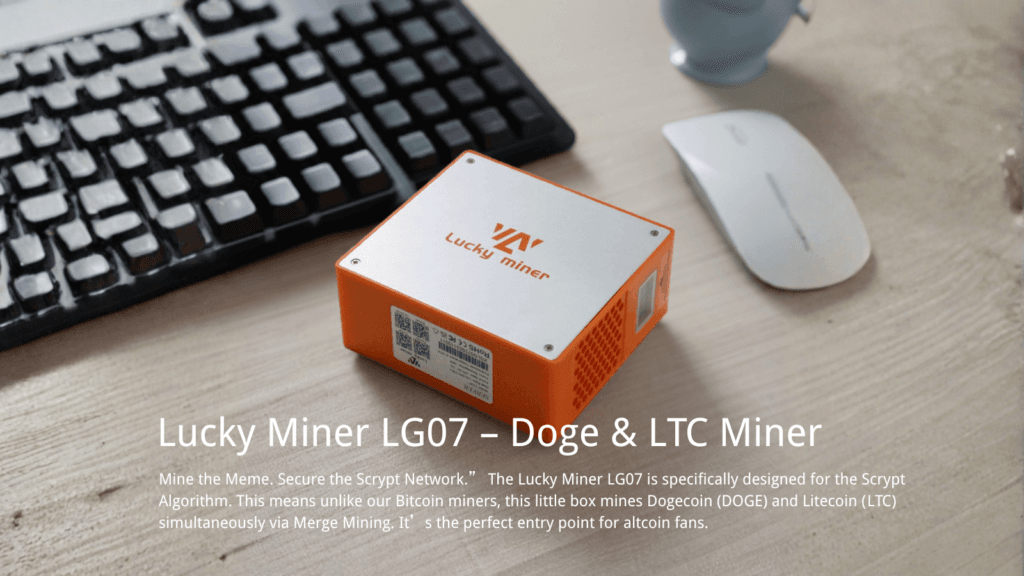
Congratulations! You’ve just unboxed your Luckyminer LG07. Unlike its “big brother,” the LV08 (which hunts for Bitcoin), this compact unit is engineered specifically for the Scrypt Algorithm. This means you are now officially a miner for Dogecoin (DOGE) and Litecoin (LTC)—often simultaneously via “Merged Mining.”
While the LG07 is marketed as “Plug-and-Play,” the ESP32 architecture can be picky if not treated right. This guide cuts through the technical jargon and gives you the exact “Factory Standard” steps to get from unboxing to hashing in under 10 minutes.
🛑 Prerequisites: Read Before Powering On
Before you plug anything in, check these three critical points. 90% of user support tickets originate from ignoring these rules:
- Power Supply (The #1 Pitfall):
- According to the official manual, the LG07 consumes approximately 12W.
- CRITICAL: Do NOT use a standard 5V/1A or 5V/2A (10W) phone charger. It is not enough.
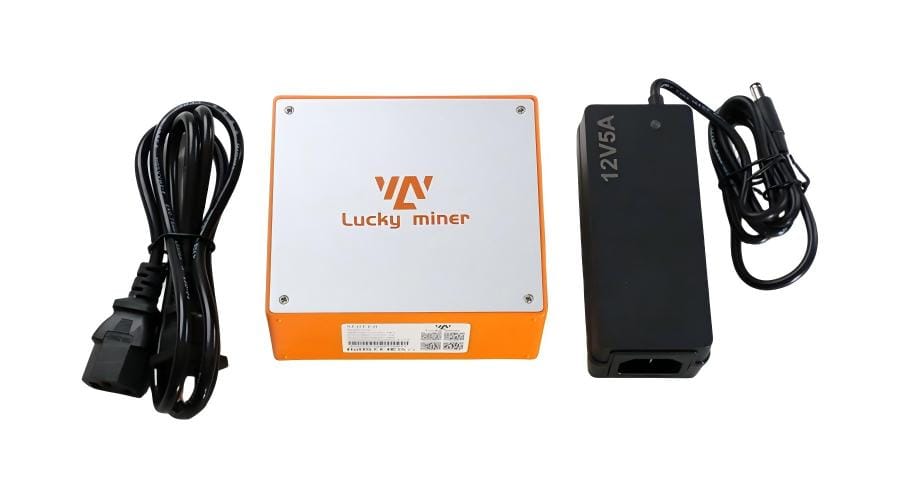
- Requirement: You must use a 12V/5A power adapter or higher. If the voltage drops, the device will enter a “boot loop” (constant restarting).
- Also, use a high-quality USB-C cable. Thin, cheap cables cause voltage drops.
- Network Environment:
- Ensure your home WiFi is 2.4GHz.
- The onboard chip does not support 5GHz networks. If you have a mesh router, you may need to enable a dedicated “IoT Network” or “Guest Network” on the 2.4GHz band.
- Wallet Address:
- You need a valid DOGE or LTC wallet address.
- Warning: Do not enter a Bitcoin (BTC) address. If you do, your mining rewards will be lost forever.
Step 1: Hardware Initialization
- Antenna: If your model includes an external antenna, screw it in finger-tight. This is vital for maintaining a stable connection to the mining pool.
- Power Up: Connect your high-quality USB-C cable and 5V/3A adapter.
- Boot Sequence: The screen will light up displaying the DigLucky / Luckyminer logo.
- Wait for AP Mode: Wait approximately 10–15 seconds. If the device hasn’t been configured before, it will broadcast its own WiFi signal.
- Screen Message:
Connect to WiFi: LuckyMiner-Lxxxx(or similar).
- Screen Message:
Step 2: Network Configuration (The Handshake)
We need to introduce the miner to your home router.
- Search for WiFi: On your smartphone or laptop, open WiFi settings and look for a network named
LuckyMiner-Lxxxx. - Connect: Click to connect. (Usually, there is no password. If asked, try
12345678or check the sticker on the anti-static bag). - Captive Portal: Once connected, your phone should automatically pop up a browser window.
- If it doesn’t pop up: Open a web browser manually and type:
192.168.4.1.
- If it doesn’t pop up: Open a web browser manually and type:
- Configure WiFi:
- Click the “Configure WiFi” button.
- Select your home’s 2.4GHz WiFi from the list.
- Enter your WiFi password carefully.
- Save & Reboot: Click “Save”.
- Watch the miner’s screen. It should change to “Connecting…” and then display an IP Address (e.g.,
192.168.1.45).
- Watch the miner’s screen. It should change to “Connecting…” and then display an IP Address (e.g.,
💡 Pro Tip: If the screen displays an IP Address, you are online! Write this IP address down. This is your key to accessing the miner’s dashboard later.
Step 3: Pool Configuration (Start Mining)
Now that the device is online, we need to tell it where to send its hashrate.
- Access Dashboard: Ensure your phone/computer is back on your home WiFi. Type the miner’s IP address (e.g.,
http://192.168.1.45) into your browser. - Navigate: Click on “Miner Configuration” or “Settings”.
- Enter Settings (Reference Manual Section 6.4.2):
- Stratum URL:
- Since the hashrate is low (~11 MH/s), we recommend a “Solo” or “High Difficulty” pool designed for small miners.
- Option A (Public Pool):
stratum+tcp://scrypt.public-pool.io:21496 - Option B (ViaBTC):
stratum+tcp://scrypt.viabtc.com:3333
- Stratum User:
- Format:
WalletAddress.WorkerName - Example:
DMC123456789xyz.LG07(Replace with your actual Doge/LTC address).
- Format:
- Password:
- Standard is
123orx.
- Standard is
- Frequency & Voltage (Advanced):
- Frequency: Default is 600MHz.
- Core Voltage: Default is 650mV.
- Warning: Unless you are an expert, leave these at default. Overclocking without proper cooling can damage the ASIC.
- Stratum URL:
- Save: Click “Save” or “Apply”. The miner will restart the mining process.
Step 4: Verification
- On the Miner: Watch the screen.
- Hashrate: Should stabilize around 11 MH/s (±10%).
- Temp: Ensure the device isn’t overheating.
- On the Pool: Go to the website of the pool you chose (e.g., public-pool.io), enter your wallet address, and look for your active worker.
- Note: It may take 5–10 minutes for the pool to detect your miner.
LuckyMiner LG07 Installation Video
Troubleshooting FAQ
Q1: The screen is stuck on “WiFi Connecting…”
- Cause: Wrong password or 5GHz network.
- Fix: Long-press the physical button (if equipped) for 5-10 seconds, or unplug/replug the power 5 times rapidly to trigger a factory reset. Try again with a 2.4GHz network.
Q2: The device keeps rebooting or the screen flickers.
- Cause: Insufficient Power. The LG07 needs 12W+.
- Fix: Swap to a 5V/3A power adapter and a thicker USB-C cable immediately.
Q3: Why is my hashrate 0 or my Reject Rate high?
- Cause: Network Latency.
- Fix: Solo mining requires a fast connection. Move the miner closer to your WiFi router.
Why Buy Factory Direct?
The LG07 is your gateway into crypto hardware. Once you get the “mining bug,” you might want to upgrade to the more powerful Luckyminer LV08 (for Bitcoin).
At DigLucky, we are the manufacturer.
- No Middlemen: You get Shenzhen factory-direct pricing.
- Real Support: We know the hardware because we built it.
Want to sell LG07s in your shop? We offer competitive Tier 1-3 wholesale pricing. Get a B2B Quote.
Need a gift for a geek friend? Shop at our Official B2C Store.
Ready to Start Your Project?
Get a factory-direct quote for your B2B project, or shop our B2C store for the best prices.