Introduction and Core Highlights of the MO01
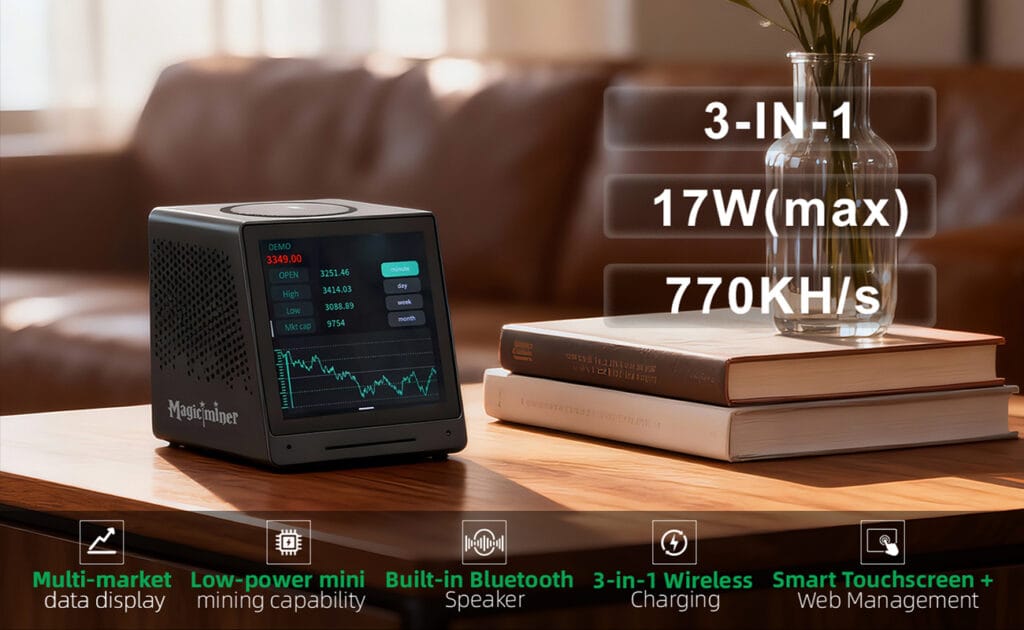
The MagicMiner MO01 is an innovative smart desktop terminal integrating multiple market data displays, a high-fidelity Bluetooth speaker, three-in-one wireless charging, and an alarm clock. It serves as an everyday desktop companion that simultaneously functions as a low-power SHA-256 solo miner.
Core highlights include:
- Customized dynamic displays for cryptocurrency, A-share, Hong Kong stock, and US stock quotes.
- Dual operation management methods utilizing both an onboard touchscreen and a Web GUI.
- Robust dual-band network connectivity supporting Wi-Fi (2.4G & 5G) alongside Bluetooth pairing.
- Seamless automatic over-the-air firmware updates to ensure operational stability.
Hardware Specifications and 19W Power Profiling
Understanding the exact power and hashing capabilities of your hardware prevents unstable deployments. The manufacturer rates the maximum factory power draw at 17 watts, but practical engineering testing demonstrates a dynamic electrical footprint up to 19 watts under heavy combined loads.
| Hardware Metric | Factory Specification | Engineering Diagnostic Note |
| ASIC Hashrate | 770 kH/s ±10% | Exact output varies slightly based on the specific silicon lottery of the unit. |
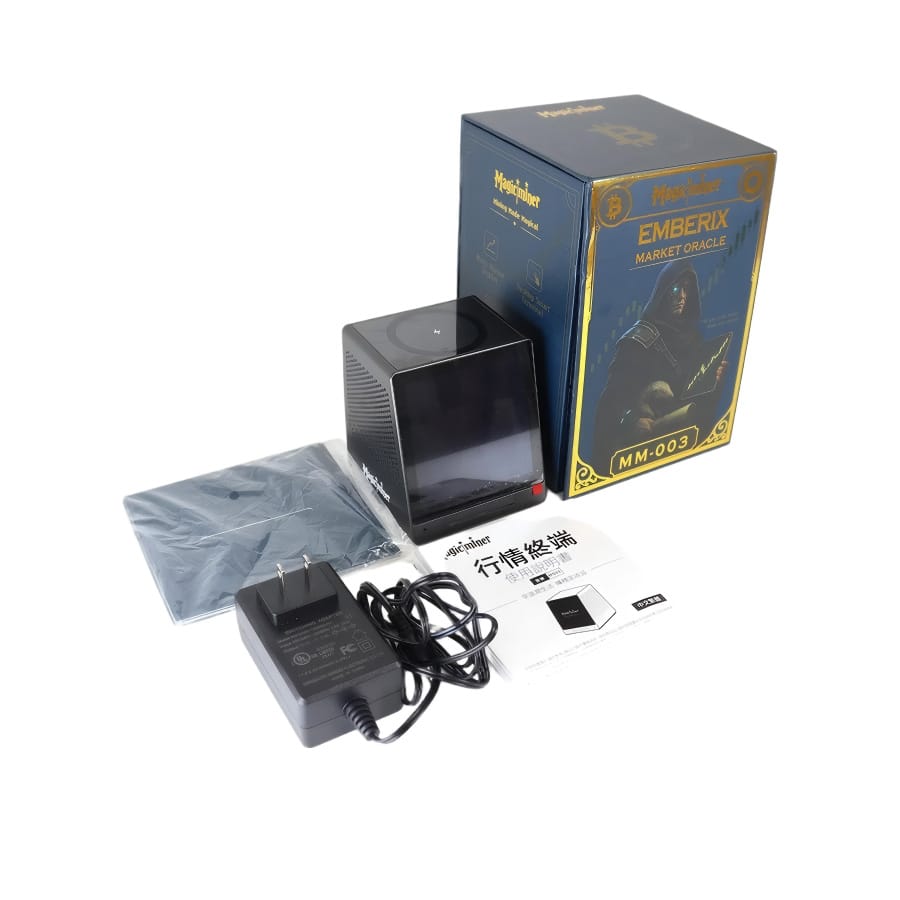
| Power Input | DC 12V/3A | Utilize the included adapter; idle draw sits near 2.3W, scaling up to 19W during combined loads. |
| Supported Algorithms | SHA-256 | Capable of mining Bitcoin (BTC), Bitcoin Cash (BCH), BSV, XEC, DGB, and FB. |
| Wireless Charging | 3-in-1 Support | The top pad supports wireless charging, but cannot charge a phone, earphones, and watch simultaneously. |
| Physical Dimensions | 85 x 87 x 95.5 mm | Compact form factor optimized for desktop thermal dissipation. |
Initial Configuration and Network Provisioning
Deploying the MO01 requires navigating its underlying Linux-based operating system. Follow these steps to ensure rapid provisioning:
Flash Over-the-Air Firmware Updates: Navigate to the device settings and select Check for updates. Manual firmware files are generally unavailable online, so allowing the device to pull OTA updates automatically is critical for improving touchscreen sensitivity and overall system stability.
Initialize Power Delivery: Connect the provided power adapter into the DC 5.5×2.1 power interface. Press the physical button to supply power and boot the system screen.
Establish Local Connectivity: Follow the on-screen prompts to connect to your local network. The MO01 supports dual-band Wi-Fi (2.4G & 5G) and allows direct password entry or Bluetooth-assisted pairing. Due to touchscreen limitations, typing credentials manually may require patience.
Execute Web GUI Authentication: Connect your engineering workstation to the same Wi-Fi network and input the device’s IP address into a web browser. Authenticate the session using the default administrative credentials: login username root and password root.
Configure Stratum Pool Parameters: Navigate to the pool settings tab in the Web GUI. Standard major pools will reject shares from a 770 kH/s device. You must configure the stratum to point to specialized low-hash nodes (like the Jellyfish pool) or configure for direct solo mining.
Initial Configuration and Network Provisioning
Deploying the MO01 requires navigating its Linux-based operating system, which is optimized for background hardware management rather than rapid touch responsiveness.
- Initialize Power Delivery: Connect the provided power adapter into the DC 5.5×2.1 power interface. Press the physical button to supply power and boot the system.
- Establish Local Connectivity: Tap the settings gear icon on the main screen and select the Wi-Fi section. Tap the scan function to locate local networks, select your SSID via the dropdown, and carefully input your password on the pop-up keyboard.
- Execute Web GUI Authentication: Connect your computer to the same Wi-Fi network and input the device’s IP address into a browser to access the management interface. Authenticate using the default credentials; enter root for the login username and root for the password.
- Configure Stratum Pool Parameters: Navigate to the pool settings tab in the Web GUI to designate hashing targets. You must connect to dedicated pools optimized for extremely low hash rates, such as the Jellyfish pool, or configure for solo mining.
- Flash Over-the-Air Firmware Updates: Scroll to the bottom of the device’s main menu, select the device information section, and tap Check for updates. Manual firmware downloads are unavailable on the official website, making these OTA updates mandatory to improve touchscreen sensitivity.
Advanced Web Management and Media Customization
The Web GUI provides administrative access to deeply customize the visual and auditory elements of the MO01 terminal.
- Deploy Custom Boot Media: Within the Web GUI, navigate to Display Settings > Boot Animation. Select Upload File to add a custom local animation file. Files should be formatted as MP4 or GIF, match the device screen resolution, and stay under 5 seconds in duration to ensure rapid boot speeds.
- Configure Static Screensavers: Navigate to the Screen Saver/Standby section and execute the Upload Images function. Images must be strict .png format, sized exactly at 480×480 pixels, and kept under 3MB to prevent load latency.
- Manage Audio Output: To utilize the built-in Bluetooth speaker functionality, open your phone’s settings and connect to the M001-xxxxxx hardware identifier. You can also upload custom alarm sounds via the Web GUI to replace the default system tones.
The Factory vs. DIY Clone Reality Check
DigLucky operates premier automated SMT lines in Shenzhen, ensuring every custom PCBA undergoes a rigorous 48-hour thermal burn-in test before shipment. When dealing with consumer-level devices like the MO01, assembly tolerances can vary drastically between batches. Generic DIY clones often cut corners on custom thermal pads, leading to voltage regulation failures. Utilizing a direct source manufacturer like DigLucky guarantees industrial-grade stability, preventing rapid hardware degradation when running continuously at peak 19W loads.
Pro-Level FAQ Troubleshooting
Q: Why is my MO01 unit experiencing constant rejected shares on my primary mining pool? A: Because the device outputs an extremely low 770 kH/s hash rate, standard major mining pools like Two Miners will automatically reject its shares. You must stick strictly to specialized low-hash pools like Jellyfish or operate using a solo mining strategy for Bitcoin or Bitcoin Cash.
Q: Why does the touchscreen interface feel sluggish and unresponsive when I attempt to input network credentials? A: This latency is an inherent limitation of the Linux OS running on this specific hardware architecture, and the screen is not as fluid as modern smartphone displays. Updating your unit’s firmware over the air can marginally improve this touch responsiveness.
Q: Why does the device fail to maintain a stable Bluetooth connection with my smartphone? A: The onboard Bluetooth module can be finicky during pairing operations. System diagnostics show it often struggles to establish or maintain a connection with certain mobile devices, such as the Google Pixel 9 Pro.
Q: The wireless charging feature on the top panel is not initiating. How do I fix this? A: Verify the smartphone is positioned exactly in the top center wireless charging area. Ensure your device case thickness does not exceed the manufacturer limits, and remember that the 3-in-1 charger can only charge one device—phone, earphones, or watch—at a time.
Wholesale B2B Distribution & OEM Procurement
As a premier Shenzhen source manufacturer, DigLucky specializes in scaling high-performance open-source ASIC mining technology. For B2B distributors seeking wholesale volume pricing on desktop mining hardware, we offer custom OEM modifications, tailored AxeOS firmware integrations, and Full Carton specification shipping. Secure your bulk hardware inventory today via T/T wire transfer and leverage our direct-from-factory engineering reliability to dominate your local market.
Ready to Start Your Project?
Get a factory-direct quote for your B2B project, or shop our B2C store for the best prices.