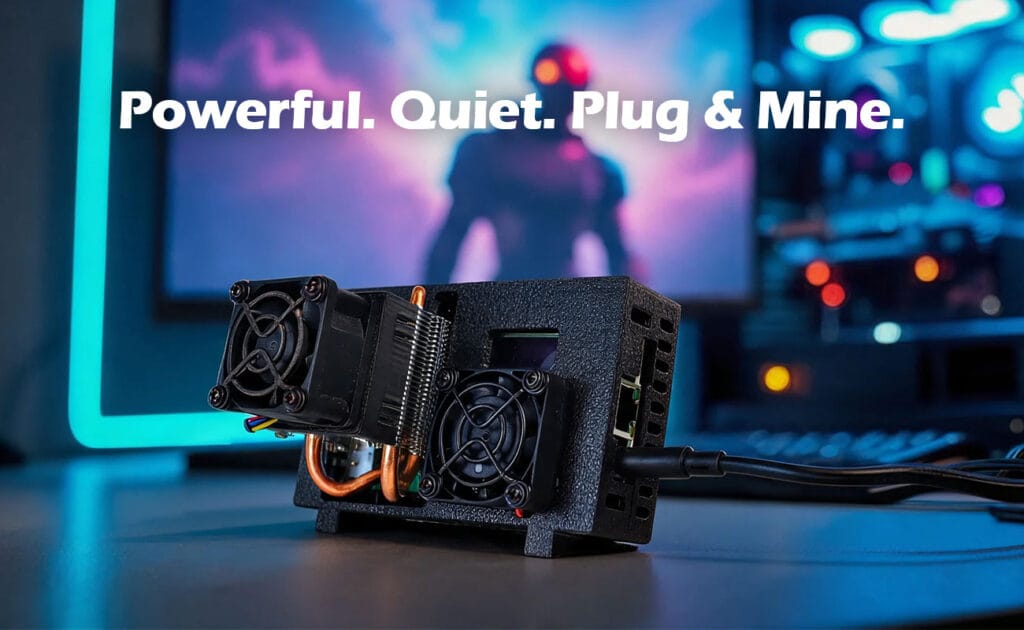
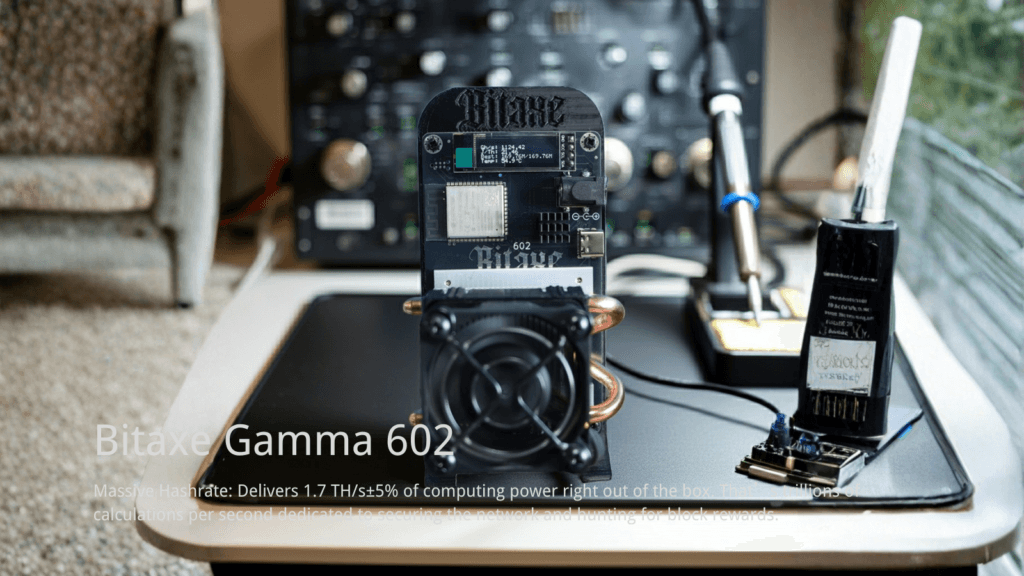
The Symptom/Goal: Initializing and Hashing Your NerdOCTaxe 12T
As the Lead Technical Engineer at DigLucky, I frequently review support tickets from users who fail to initialize their ASIC miners correctly due to improper power sequencing or network misconfigurations. The goal of this documentation is to guide you through the initial boot, network configuration, and mining pool connection for the NerdOCTaxe 12T.
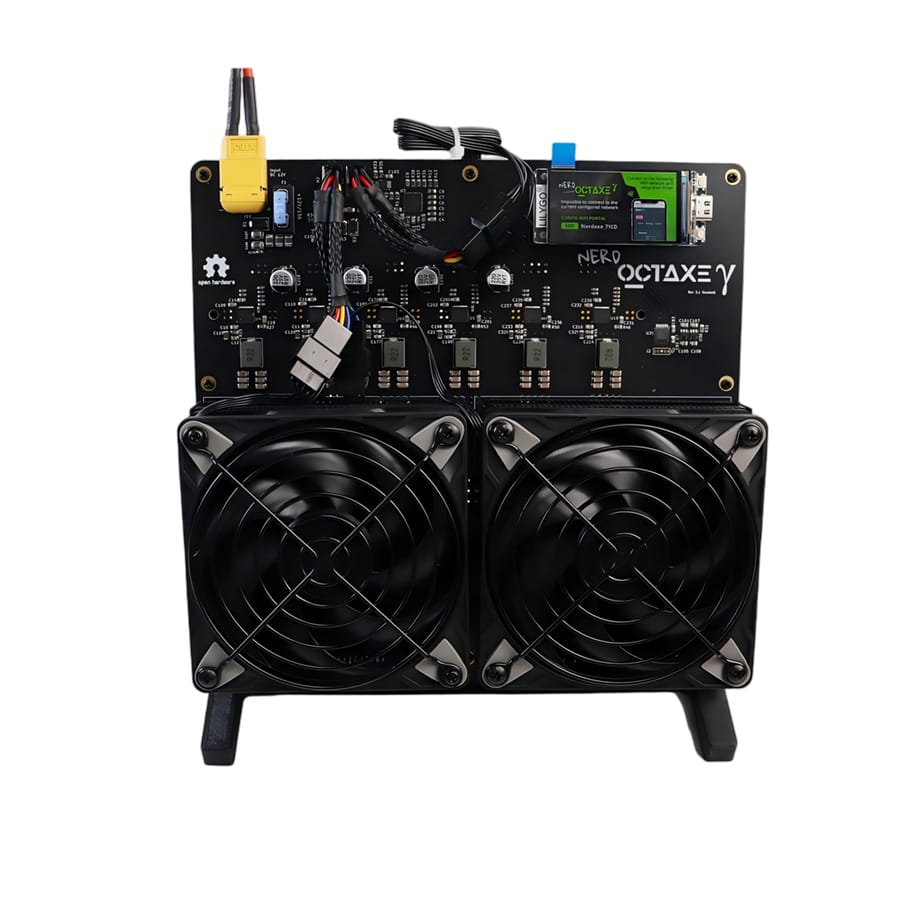
The NerdOCTaxe 12T is a high-performance desktop-class SHA-256 ASIC miner designed for enthusiasts, home miners, and small-scale mining environments. A successful execution of this guide will transition your device from an unconfigured state to actively hashing on the Bitcoin network at an expected 12TH/s (± 5%).
Prerequisites Checklist
Before you apply power to the PCB, verify you have the following resources ready and understand the operating parameters:
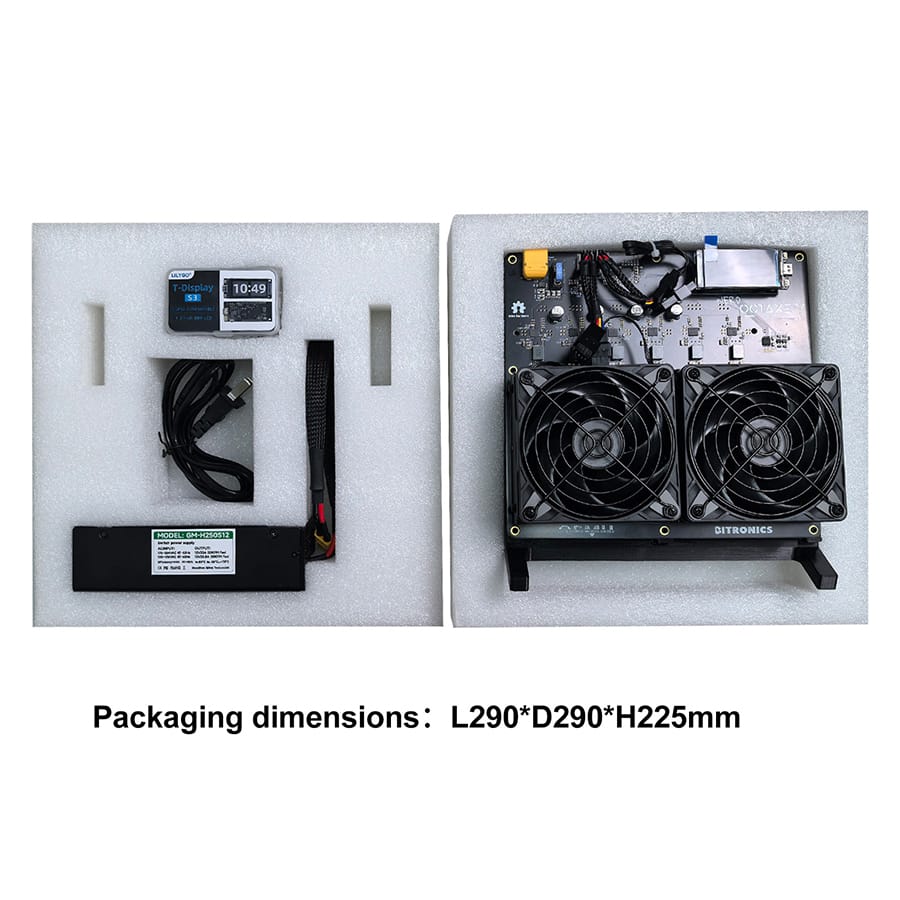
- Dedicated Power Supply: You must use the included 250W switching power supply. The miner operates on a 12V input.
- Power Interface: Ensure your XT60 power connector is in good condition.
- 2.4GHz Wi-Fi Network: The device supports WiFi 2.4G only; 5G networks are strictly not supported.
- Environmental Controls: Place the device on a stable and well-ventilated surface. The operating temperature must remain between 0-35°C. Do not use the device in humid or high-temperature environments.
- Network Tooling: A PC, Mac, or smartphone equipped with a 2.4GHz Wi-Fi adapter to access the web management interface.
Step-by-Step Execution: Boot Sequence and Configuration
Execute the following steps in exact order to ensure hardware safety and proper network handshakes.
Phase 1: Power Initialization and AP Mode
- Securely connect the XT60 power connector from your power supply to the XT60 interface area on the miner.
- Connect to AC power to start the device. CRITICAL WARNING: Do not plug or unplug the XT60 connector while the device is powered on.
- Upon startup, the PWM fan may increase speed to enhance cooling, which can temporarily increase noise; this is normal behavior. The PWM fan automatically adjusts speed based on temperature.
- Wait approximately 30 seconds for the control board to initialize its Access Point (AP) mode.
- Open the Wi-Fi settings on your configuration device (PC or smartphone) and scan for available networks.
- Locate and connect to the miner’s broadcasted AP (typically labeled similarly to the Hostname
bitaxeorNERDOCTAXE).
Phase 2: Network and Pool Configuration
Network configuration is completed via the web management interface after power-on.
- Once connected to the miner’s AP, a captive portal should automatically open. If it does not, open a web browser and navigate to the default gateway IP (usually
192.168.4.1). - Navigate to the Settings menu.
- Locate the WIFI Settings section.
- Input your 2.4GHz network name into the WiFi SSID field.
- Input your network password into the WiFi Password field.
- Configure your Stratum Mining Pool parameters. The NerdOCTaxe 12T supports multiple mining modes for different pool requirements, including SOLO (for testing and advanced users), PPLNS, and PPS modes.
Here is a standard configuration block for a Solo pool connection:
Plaintext
Pool URL: solo.ckpool.org
Pool Port: 3333
Pool User: bc1q_YOUR_BITCOIN_WALLET_ADDRESS_HERE.NerdOCTaxe
Pool Password: x
- Click the save or apply button in the web interface to commit these parameters to the miner’s non-volatile memory.
Phase 3: Verification and Telemetry Monitoring
- The miner will reboot and attempt to connect to your specified 2.4GHz network. Reconnect your configuration device to your home Wi-Fi.
- Locate the miner’s new local IP address on your network and access the dashboard.
- Verify the telemetry: Normal power consumption values are within 200W ± 10%. Normal hashrate is 12TH/s ± 5%.
- Monitor the typical operating noise, which should stabilize below 40 dB under standard conditions, though increased fan speed under high load is normal.
The Factory Insight: Thermal Management and Power Sequencing
From a factory engineering perspective, understanding the hardware architecture prevents user errors.
Thermal Management Architecture: The NerdOCTaxe 12T features an active air-cooling system utilizing a heat pipe heatsink for the ASIC core and a PWM smart fan. Crucially, it also features an independent cooling structure (Power Chip Heatsink) that reduces the temperature of power management chips, improving long-term operational stability. Disassembling or replacing components yourself may affect cooling performance and may void the warranty. Furthermore, enclosed spaces restrict airflow and may cause overheating, throttling, or protective shutdown; the device cannot be used in a closed cabinet. Do not block the air intake or exhaust vents.
Power Interface Integrity: The miner operates via a 12V XT60 connection drawing approximately 200W of continuous power. The explicit warning to never plug or unplug the XT60 connector while the device is powered on is due to the massive inrush current and potential for electrical arcing. Hot-plugging a 12V/200W DC load can physically degrade the XT60 pins and cause catastrophic voltage spikes to the onboard buck converters, permanently bricking the ASIC control logic.
The Ultimate CTA
If your hardware is permanently bricked or you are tired of secondary-market defective units, upgrade to a fully factory-tested, burn-in-verified miner from the Factory-Direct Solo Miners , OR contact our factory team on WhatsApp for custom OEM hardware solutions.
Ready to Start Your Project?
Get a factory-direct quote for your B2B project, or shop our B2C store for the best prices.