Introduction: The Desktop Datacenter
In the era of industrial-scale mining farms, the narrative that Bitcoin mining is exclusive to warehouse-sized operations is technically obsolete. The decentralization of the hashrate is returning to the edge—to the desktop.
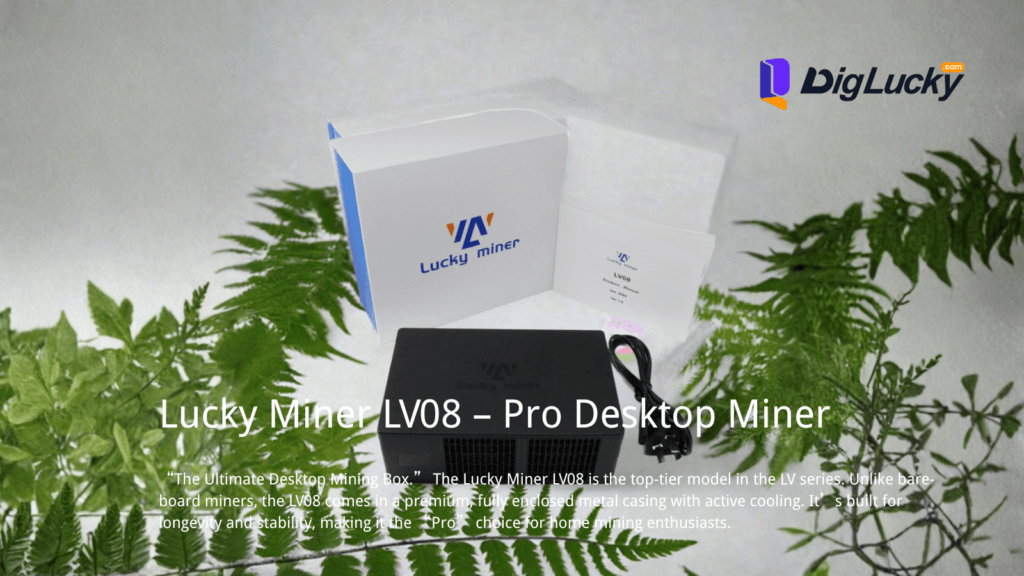
The Lucky miner LV08 represents a paradigm shift in home mining infrastructure. It is not a toy, nor is it a simple microcontroller experiment. It is a condensed industrial ASIC unit. By integrating the Bitmain BM1366 chips into a compact, active-cooled chassis, the LV08 delivers a massive 4.2 TH/s (Terahashes per second) at approximately 120W.
To put this in perspective: this desktop unit possesses more computational power than the entire Bitcoin network had in 2012.
However, raw silicon potential is meaningless without correct configuration. In Solo Mining, latency is the enemy, and protocol optimization is your weapon. This guide moves beyond the “plug-and-play” basics to provide a rigorous walkthrough of configuring your LV08 for maximum stability and efficiency on the SHA-256 network.
Phase 1: Preparation (The Hardware Stack)
Before initializing the boot sequence, we must ensure the operating environment meets the strict requirements of ASIC hardware. Unlike GPU mining, ASICs are intolerant of power fluctuations and network jitter.
1. Power Integrity
The LV08 pulls approximately 120W to 150W at peak load. While this is low for an industrial ASIC, it is significant for a DC-powered desktop device.
- Requirement: Ensure you are using the provided AC cable (100-240V AC input) and that the connection to the internal PSU is secure.
- Technical Note: Voltage sag (V-droop) can cause the BM1366 chips to underclock or trigger safety shutdowns. Do not daisy-chain multiple extension cords.
2. Network Topology (The 2.4GHz Constraint)
The control board of the LV08 utilizes an embedded WiFi module for connectivity.
- Constraint: You must utilize a 2.4GHz WiFi network (802.11 b/g/n). 5GHz networks are not supported and will result in connection failures.
- Why it matters: While 5GHz offers higher throughput, mining requires negligible bandwidth (mere kilobytes of block headers and nonce data). It requires reach and stability. 2.4GHz penetrates walls better, ensuring the miner maintains a heartbeat connection to the Stratum server without packet loss.
3. The Wallet (Native SegWit)
Ensure you have a Bitcoin wallet address ready.
- Recommendation: Use a Native SegWit (Bech32) address (starting with
bc1q). These addresses reduce transaction size, thereby lowering the fees required to move your potential block reward.
Phase 2: Setup & Implementation
We will now initialize the device and bridge it to the Bitcoin mainnet via the Stratum protocol.
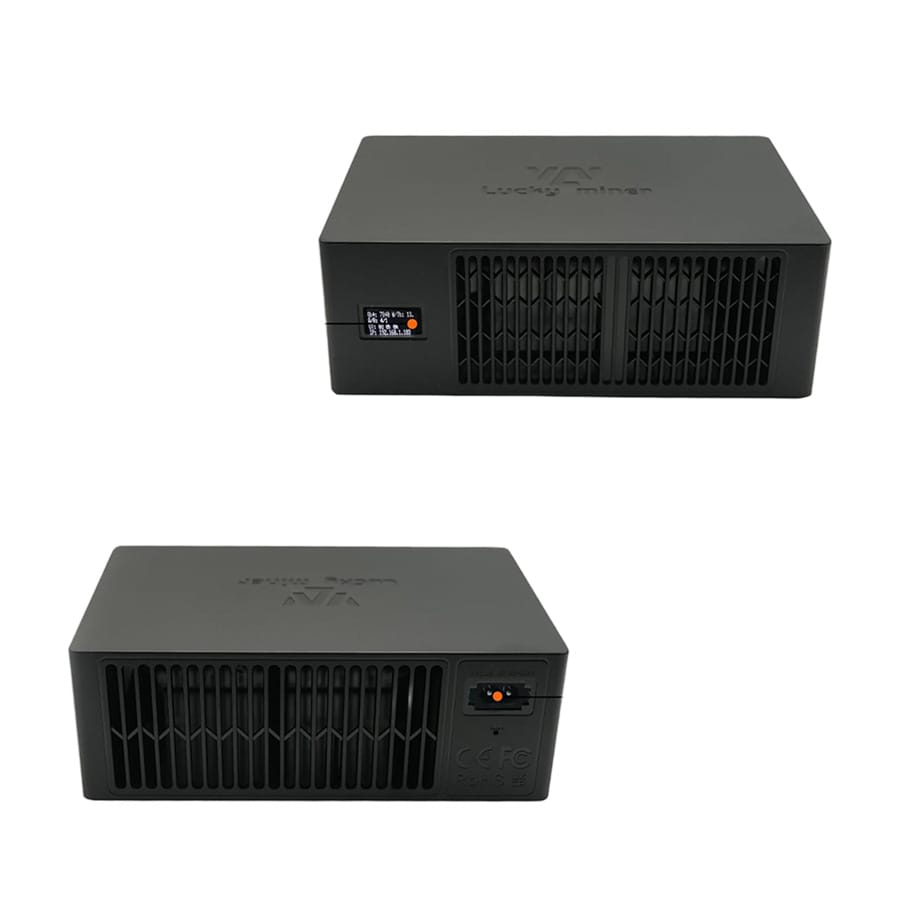
Photo of the LV08 rear panel showing the power port and Reset button
Step 1: Initialization and AP Mode
Connect the power cord. The adapter indicator light should turn green, and the fan will spin up.
- Status: The device enters AP (Access Point) Mode by default if no known network is found.
- Check Display: The miner’s OLED screen should read:
connect to ssid: Lucky_****.
Step 2: Accessing the Control Interface
The LV08 hosts a local web server for configuration (Captive Portal).
- Using a mobile device or laptop, scan for available WiFi networks.
- Connect to the SSID named
Lucky_****(the suffix corresponds to the device MAC address). - The captive portal should automatically redirect you to the configuration page.
- Troubleshooting: If not, open a browser and navigate to
192.168.4.1.
Step 3: Network & Pool Configuration
This is the critical phase. Incorrect settings here will result in “Dead Hash” (computing work that is never submitted).
A. Wireless Credentials
- WiFi SSID: Enter your home 2.4GHz network name.
- WiFi Password: Enter your network password.
- Note: Special characters in SSIDs sometimes cause parsing errors in embedded Linux systems. If connection fails, try a simple alphanumeric SSID.
B. Stratum Protocol Settings The Stratum protocol is the language miners use to communicate with pools. Since the LV08 is a Solo Miner, you are looking for a solo pool that distributes the full block reward (3.125 BTC + fees) if you solve a block.
Enter the following settings:
- Stratum URL:
stratum+tcp://public-pool.io(orsolo.ckpool.org) - Technical Insight: Do not include
http://. The protocol is raw TCP, not HTTP. - Stratum Port:
21496(for Public Pool) or3333(for CKPool) - Crucial Optimization: Ensure the port you choose supports low-difficulty shares. Industrial pools often set the “variable difficulty” floor too high (e.g., diff 10,000) for smaller devices. If the difficulty is too high, your LV08 may time out before finding a valid share to prove it is working, leading to disconnects.
- Stratum User:
YourWalletAddress
- Example:
bc1qxy2...z89 - Note: In Solo Mining, your wallet address IS your username.
- Password:
x(Standard placeholder).
C. ASIC Tuning (Advanced) The LV08 allows manual frequency and voltage adjustments.
- Frequency: Default is usually 500-575 MHz.
- Core Voltage: Default is 1200-1300 mV.
- Warning: Increasing frequency increases hashrate but exponentially increases power draw and heat. Pushing beyond 575MHz or 1300mV without ensuring the PSU can handle >130W may cause instability.
Step 4: Save and Reboot
Click Save, then click Restart. The device will terminate the AP hotspot and attempt to connect to your local WiFi.
Phase 3: Verification & Testing
Once the device reboots, the onboard screen will switch from the setup prompt to the Status Dashboard.
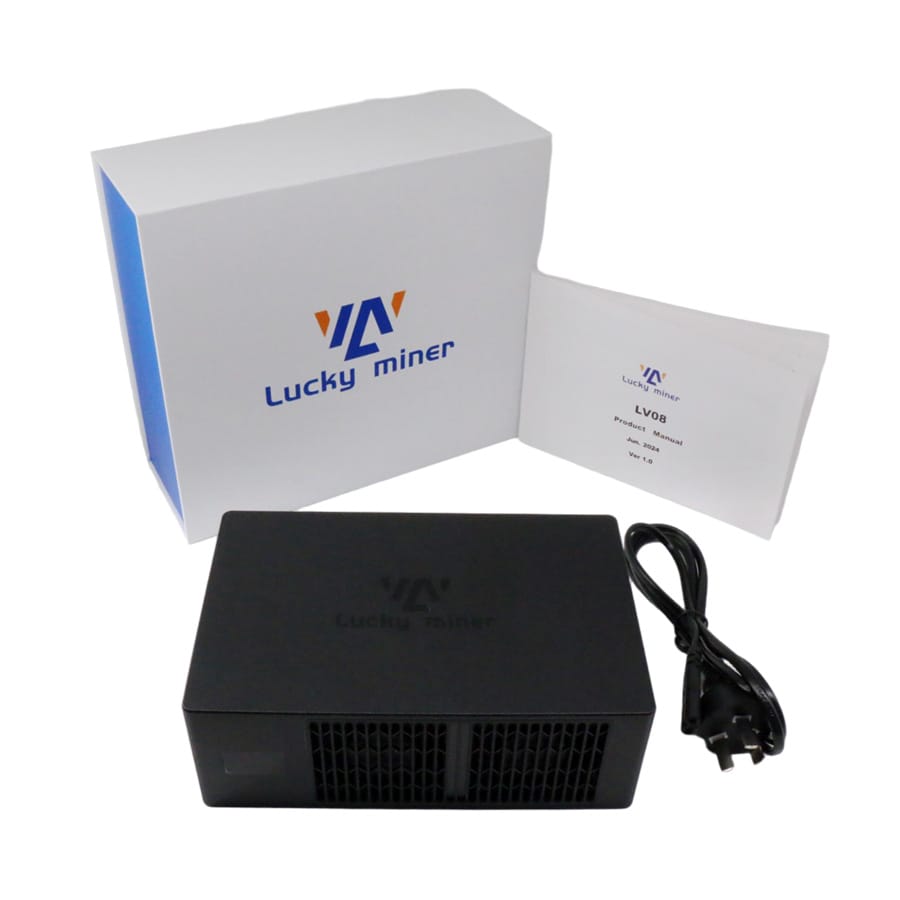
1. The Dashboard Metrics
Wait 30-60 seconds for the boot sequence. The screen should cycle through:
- Gh: Real-time Hashrate (Target: ~4200 Gh/s).
- W/Th: Efficiency (Watts per Terahash).
- IP: The new local IP address assigned by your router (e.g.,
192.168.1.50).
2. Verify via Web UI
Enter the new IP address (displayed on the miner’s screen) into your browser. You will see the full Lucky Miner dashboard.
- Shares Accepted: This number must be increasing. It proves your device is communicating correctly with the pool.
- Best Difficulty: This shows the hardest mathematical problem your device has solved since boot. This is your “closest ticket” to winning the block.
3. Verify via the Blockchain (The Pool)
Go to the website of the pool you selected (e.g., web.public-pool.io) and enter your wallet address.
- Status: You should see your worker (LV08) active.
- Note: It may take 10-15 minutes for the graph to stabilize. The pool calculates your hashrate based on submitted shares (Hashrate = Shares * Difficulty / Time). Because of the Luck factor (variance), the reported hashrate on the pool side will fluctuate wildly compared to the steady local hashrate on your device. This is mathematically normal.
Troubleshooting & Optimization
Even with premium hardware like the LV08, entropy happens. Here is how to diagnose common issues using technical logic.
Issue 1: Hashrate is 0 or “Dead”
- Symptom: The device is on, WiFi is connected, but Hashrate reads 0.00 Gh/s.
- Root Cause 1: Stratum Connection Failure. The miner cannot reach the pool.
- Fix: Check your DNS settings or try a different pool URL. Ensure your router is not blocking Port 3333 or 21496 (common in strict firewalls).
- Root Cause 2: Port Difficulty Mismatch.
- Fix: As mentioned in Phase 2, ensure you aren’t connecting to a port reserved for Petahash-scale farms. Use the port designated for “Small Miners” or “Variable Difficulty”.
Issue 2: High Reject Rate (>1%)
- Symptom: The pool shows many “Rejected” shares.
- Technical Explanation: A “Stale Share” occurs when your miner solves a puzzle for a block that has already been found by someone else. This is a latency issue.
- Optimization:
- Check your WiFi RSSI (Signal Strength). Move the LV08 closer to the AP.
- Switch to a pool server geographically closer to you (e.g., use
us.public-pool.ioinstead ofeu.if you are in the States).
Issue 3: Device Restart Loops
- Symptom: The device mines for a few minutes, then reboots.
- Root Cause: Thermal Protection or Brownout.
- Optimization:
- Check the PSU. If you aggressively overclocked (e.g., >1300mV), the voltage sag might be triggering a reset. Lower the frequency to 500MHz.
- Check thermals. The BM1366 is efficient, but if ambient temps exceed 30°C, the safety throttle will kick in. Ensure the intake/exhaust vents are not blocked.
Issue 4: “Invalid Worker”
- Symptom: Pool says the worker is invalid.
- Fix: Check your wallet address syntax. A single typo in a Bitcoin address invalidates the string checksum. Copy/paste directly; never type manually.
Conclusion: The Long Game
You are now running a Lucky miner LV08 . You are consuming ~120W to secure the hardest money ever discovered.
Remember, Solo Mining is a probabilistic game. You may go months or years without finding a block. Or, you might find one tomorrow. The LV08 is built to run 24/7/365, quietly churning through nonces, waiting for that one specific hash that starts with enough zeros to change your life.
Ready to Start Your Project?
Get a factory-direct quote for your B2B project, or shop our B2C store for the best prices.