Introduction: Industrial Silicon on Your Desk
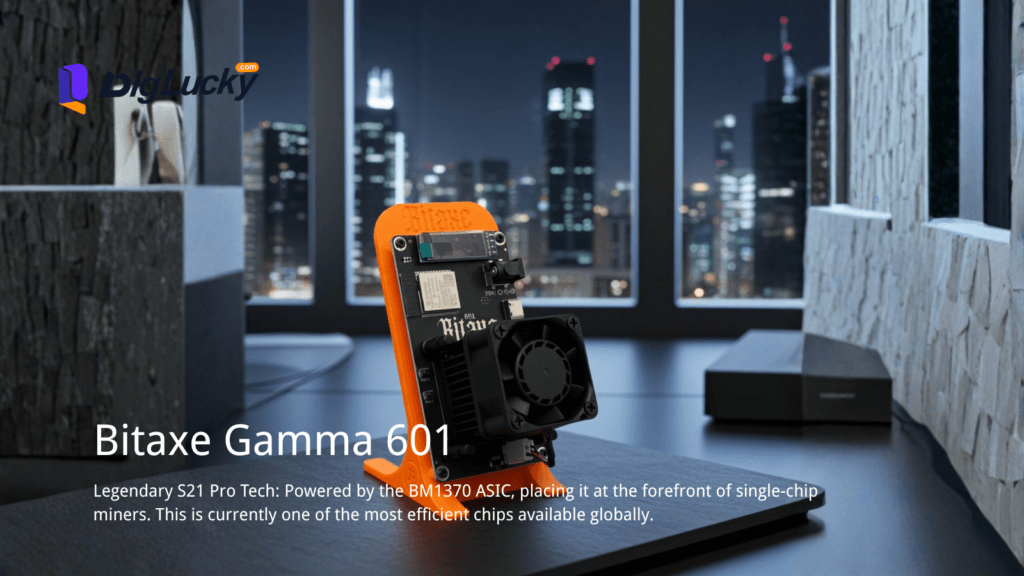
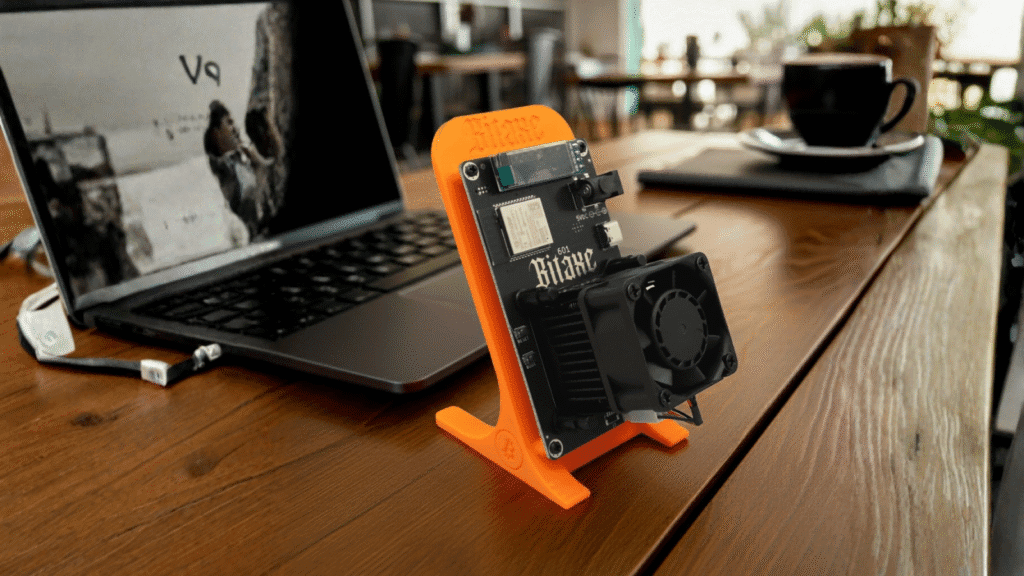
The DigLucky Bitaxe Gamma 601 represents a paradigm shift in open-source mining hardware. Unlike previous generations based on the BM1397 (S19 era) chips, the Gamma 601 integrates the Bitmain BM1370—the exact same silicon found in the efficiency-king Antminer S21 Pro.
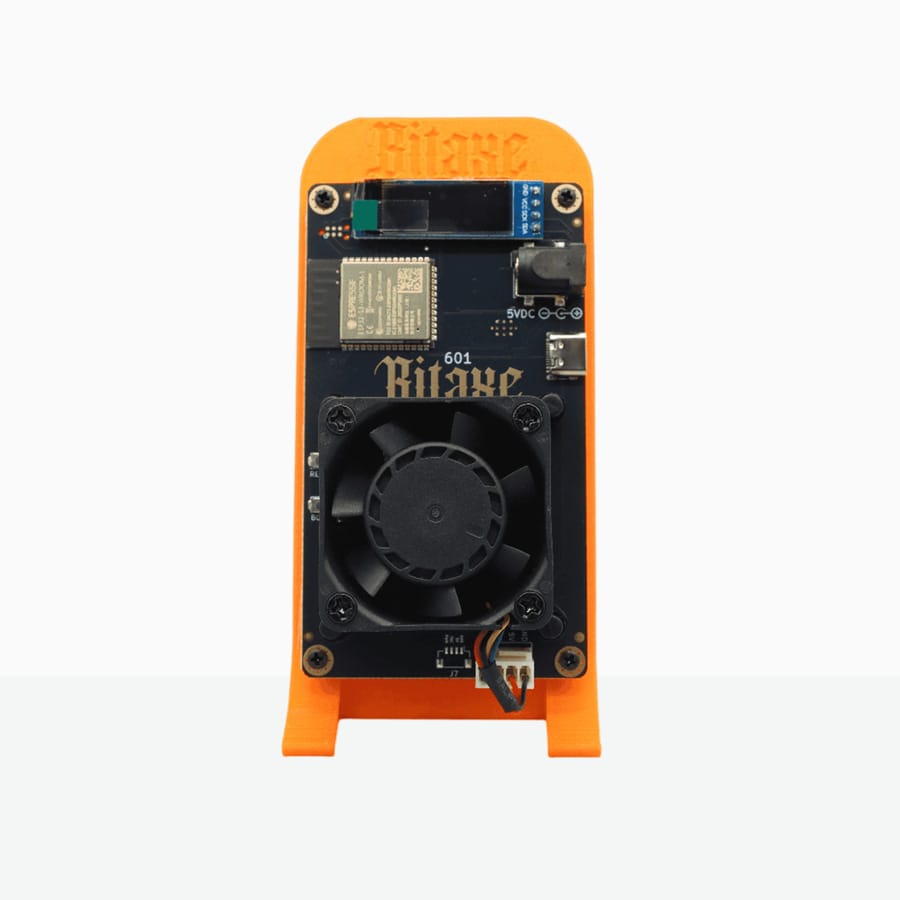
For the embedded engineer or hardware enthusiast, this matters. You are not running surplus silicon; you are running current-gen 3nm/5nm class architecture. With an energy efficiency of ~15 J/TH and a power draw of just 20-30W, this device offers the highest Hashrate-to-Watt ratio available in the desktop form factor today.
This guide will walk you through the initialization, network configuration, and stratum calibration of your Gamma 601, ensuring you extract every hash from that BM1370 core.
Phase 1: Preparation & Prerequisites
Before we initiate the boot sequence, ensure your environment meets the strict electrical and network requirements of the device.
1. Hardware Checklist
- The Unit: DigLucky Bitaxe Gamma 601 (BM1370 Edition).
- Power Supply Unit (PSU):CRITICAL. You must use the included 5V/6A (30W) barrel-jack adapter (5.5×2.1mm).
- Technical Note: Do NOT use standard 5V/2A phone chargers. The BM1370 has high transient current spikes during startup frequency tuning. Under-powering will cause “Brownout” resets or failure to hash.
- Control Device: A laptop or smartphone with WiFi capability.
2. Network & Software Data
- Network: 2.4 GHz WiFi Network (5 GHz is not supported by the ESP32-S3 module).
- Wallet Address: A valid Bitcoin (BTC) address. We recommend Native SegWit addresses (starting with
bc1q) for lower transaction fees. - Pool Stratum: Your chosen Solo Mining pool endpoint.
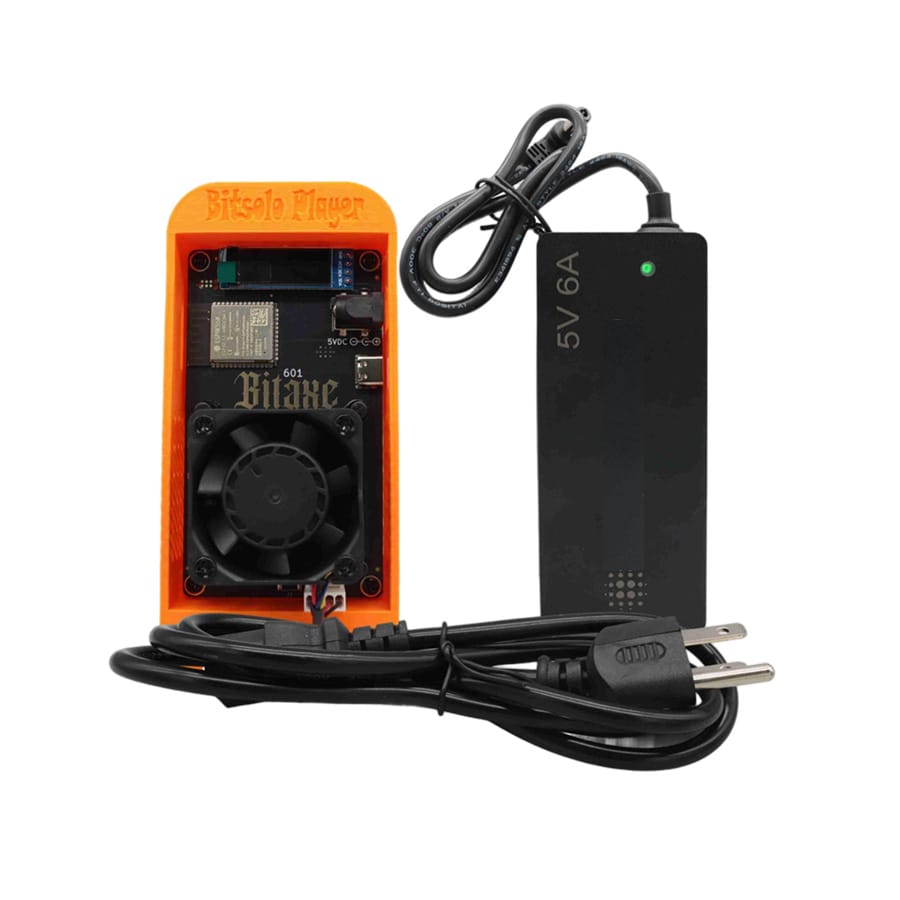
Flat lay photo of Bitaxe Gamma 601, the 5V/6A PSU
Phase 2: Implementation (The 5-Minute Setup)
The Bitaxe Gamma 601 uses an ESP32-S3-WROOM-1 microcontroller to bridge the ASIC to the WiFi network. It runs AxeOS, a specialized open-source firmware.
Step 1: Power Injection
Connect the 5V/6A power supply to the barrel jack on the rear of the unit.
- Observation: The onboard 0.96″ OLED screen will illuminate. The fan will spin up to 100% for a self-test, then settle down.
- Status: The screen will display
Bitaxe_XXXX(where XXXX is the unique MAC identifier). This indicates the device is in AP Mode (Access Point).
Step 2: Accessing the Captive Portal
Since the device doesn’t know your WiFi credentials yet, it broadcasts its own network.
- On your laptop/phone, search for WiFi networks.
- Connect to SSID:
Bitaxe_XXXX(orNerdqaxe_****depending on batch firmware version). - No Password is typically required.
- Your browser should automatically redirect to the AxeOS configuration page (Captive Portal).
- Troubleshooting: If it doesn’t redirect, open a browser and navigate to
192.168.4.1.
- Troubleshooting: If it doesn’t redirect, open a browser and navigate to
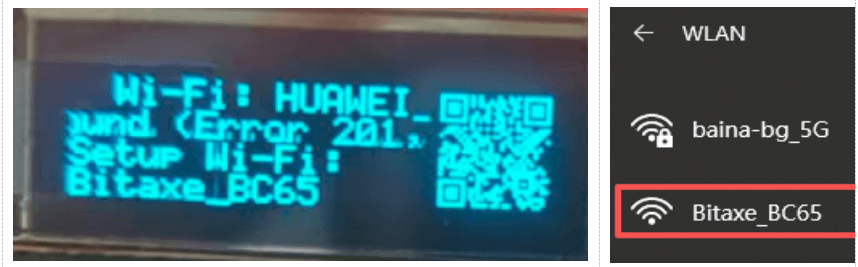
Screenshot of smartphone WiFi menu connecting to “Bitaxe_A1B2”
Step 3: Network Bridging
- Click “WiFi Settings” or “Configure WiFi”.
- Select your home 2.4 GHz SSID from the list.
- Enter your WiFi Password. Accuracy is vital; the ESP32 cannot retry if the password is wrong; it will simply fail to connect.
- Click Save. The device will reboot and attempt to connect to your router.
Step 4: Stratum Configuration (The Payload)
Once the device reboots, it will display an IP Address (e.g., 192.168.1.50) on its OLED screen.
- Type that IP address into your desktop browser to access the full AxeOS Dashboard.
- Navigate to Settings > Stratum User.
- Enter the following details:
- Stratum URL: The TCP address of your pool.
- Recommendation:
public-pool.io(Port 21496) orsolo.ckpool.org(Port 3333). - Format:
stratum+tcp://solo.ckpool.org(Do not includehttp://).
- Recommendation:
- Port:
3333(or pool specific). - Stratum User:[Your Bitcoin Wallet Address]
- Technical Warning: Do not use a worker name like
user.worker1unless the pool specifically requires it. In Solo Mining, your address is your identity.
- Technical Warning: Do not use a worker name like
- Stratum Password:
x(Standard placeholder).
- Click Save & Restart.
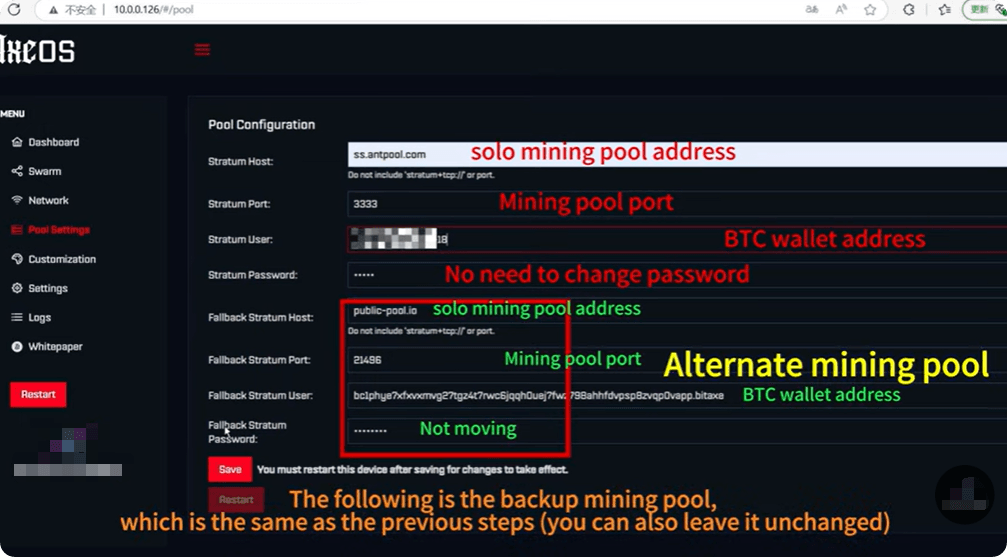
Screenshot of AxeOS Settings page with Stratum URL and Wallet Address filled in
Phase 3: Verification & Performance Tuning
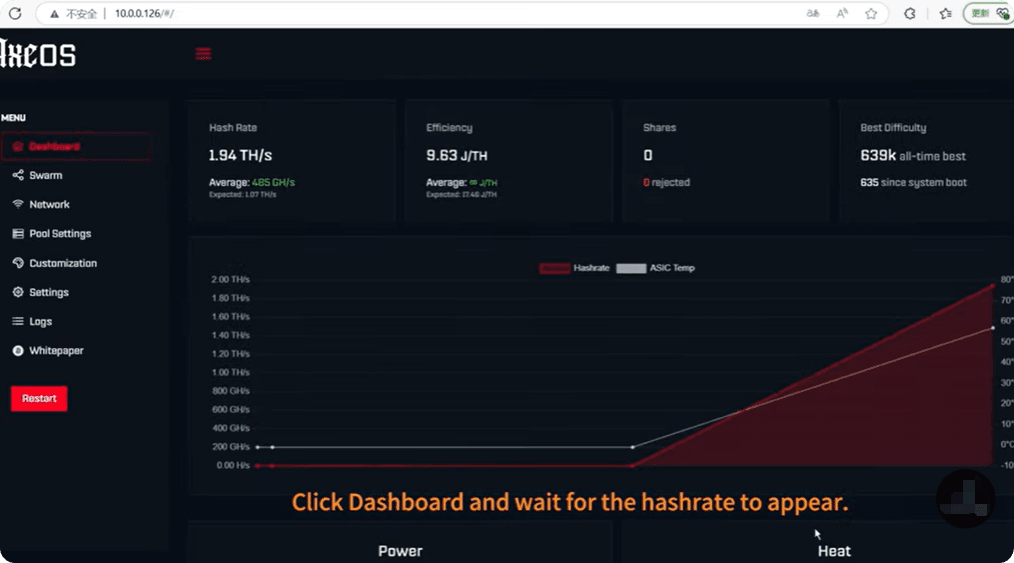
After the restart, the BM1370 chip will begin its frequency tuning process. This can take 1-2 minutes.
1. Dashboard Telemetry
Refresh the AxeOS dashboard. You should look for three specific metrics to verify success:
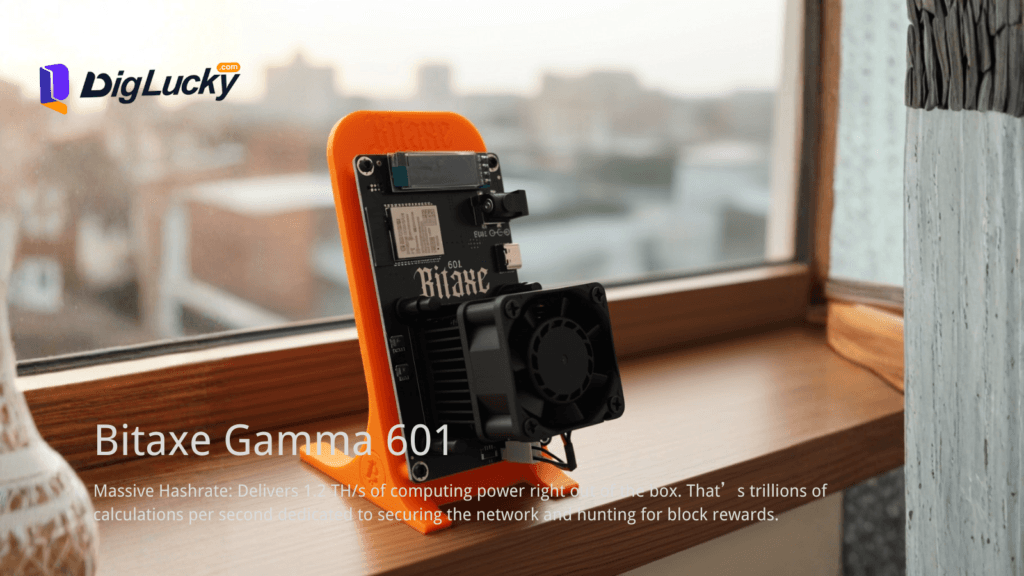
- Hashrate (5s): Should stabilize around 1.0 – 1.2 TH/s.
- Best Diff: A non-zero number (e.g.,
1.2M). This proves the ASIC is solving math problems. - Stratum: Status should read
Connected.
2. Thermal Baselines
The BM1370 is dense. Thermal management is key to longevity.
- Ideal Core Temp: 45°C – 65°C.
- Throttle Point: 75°C. The firmware will reduce voltage.
- Danger Zone: >80°C. Immediate shutdown risk.
3. Pool-Side Verification
Don’t trust the miner blindly. Verify on the blockchain layer.
- Go to your pool’s website (e.g.,
https://public-pool.io). - Search for your wallet address.
- Ensure the pool sees a hashrate of roughly 1.0 – 1.2 TH/s.
- Note: It may take 10-15 minutes for the pool’s moving average to reflect the true speed.
Split screen showing Miner Dashboard 1.2TH/s and Public-Pool website showing active worker
Troubleshooting & Optimization Logic
Even industrial hardware encounters environment variables. Here is how to debug common Level-1 failures.
Issue 1: “Zombie Miner” (Screen on, 0 Hashrate)
- Diagnosis: The ESP32 is running, but the BM1370 ASIC is not initializing. This is often a Power Delivery issue.
- Fix:
- Check the 5V/6A PSU connection. Ensure the barrel jack is fully seated.
- Check the log in AxeOS. If you see
ASIC Init Failed, perform a hard power cycle (unplug for 10 seconds).
Issue 2: Stratum Disconnects
- Diagnosis: High latency or firewall blocking.
- Fix:
- Ensure your router allows outgoing TCP traffic on Port 3333.
- Try a different stratum node (e.g., switch from EU server to US server).
Optimization: Frequency Tuning (Overclocking)
- Warning: The Gamma 601 is shipped with a “Sweet Spot” tune for 15 J/TH efficiency. Increasing frequency increases power draw exponentially, not linearly.
- Method: In AxeOS Settings, you can adjust the
FrequencyandCore Voltage.- Safe Limit: 485 MHz / 1250mV.
- Risk: Going higher requires active monitoring of the VRM (Voltage Regulator Module) temperature, not just the core temp.
Conclusion: You Are Now a Node
Congratulations. You have successfully deployed a 1.2 TH/s Bitcoin Network Validator.
You are no longer just an observer of the blockchain; you are an active participant securing the ledger . While the computational probability is focused on the long-term, the technology on your desk—the BM1370—is the same industrial-grade silicon driving the multi-million dollar data centers in Texas.
Ready to Start Your Project?
Get a factory-direct quote for your B2B project, or shop our B2C store for the best prices.