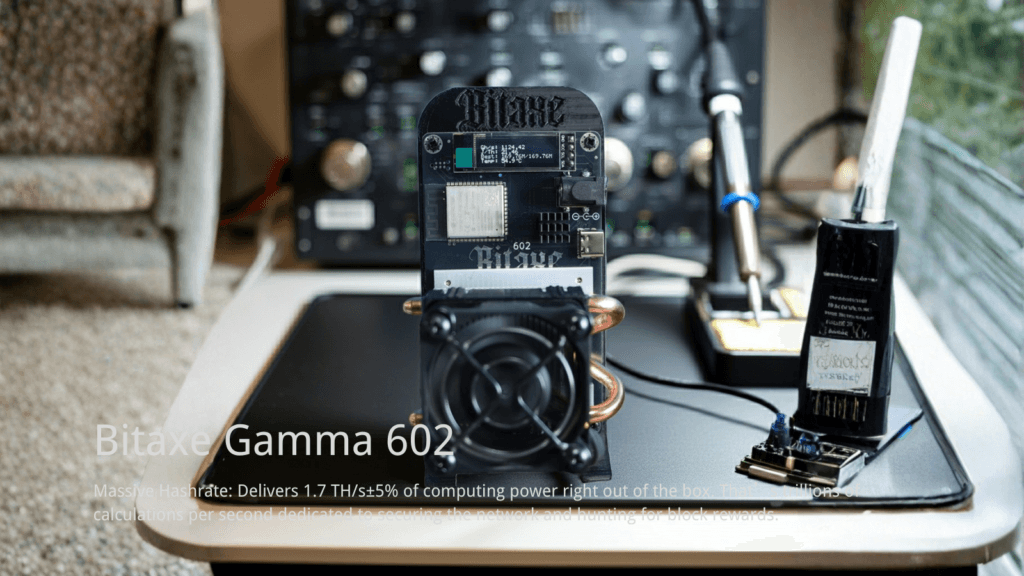
Deploying desktop ASIC hardware requires strict adherence to power regulation and thermal management protocols. The Bitaxe Gamma 602 represents the fifth major revision in the open-source mining ecosystem, migrating from the BM1366 to the highly efficient BM1370 silicon (originally engineered for the Antminer S21 Pro).
This guide provides the official factory-standard Standard Operating Procedure (SOP) for setting up, tuning, and validating the Bitaxe Gamma 602, ensuring maximum hash efficiency and hardware longevity.
Engineering Overview
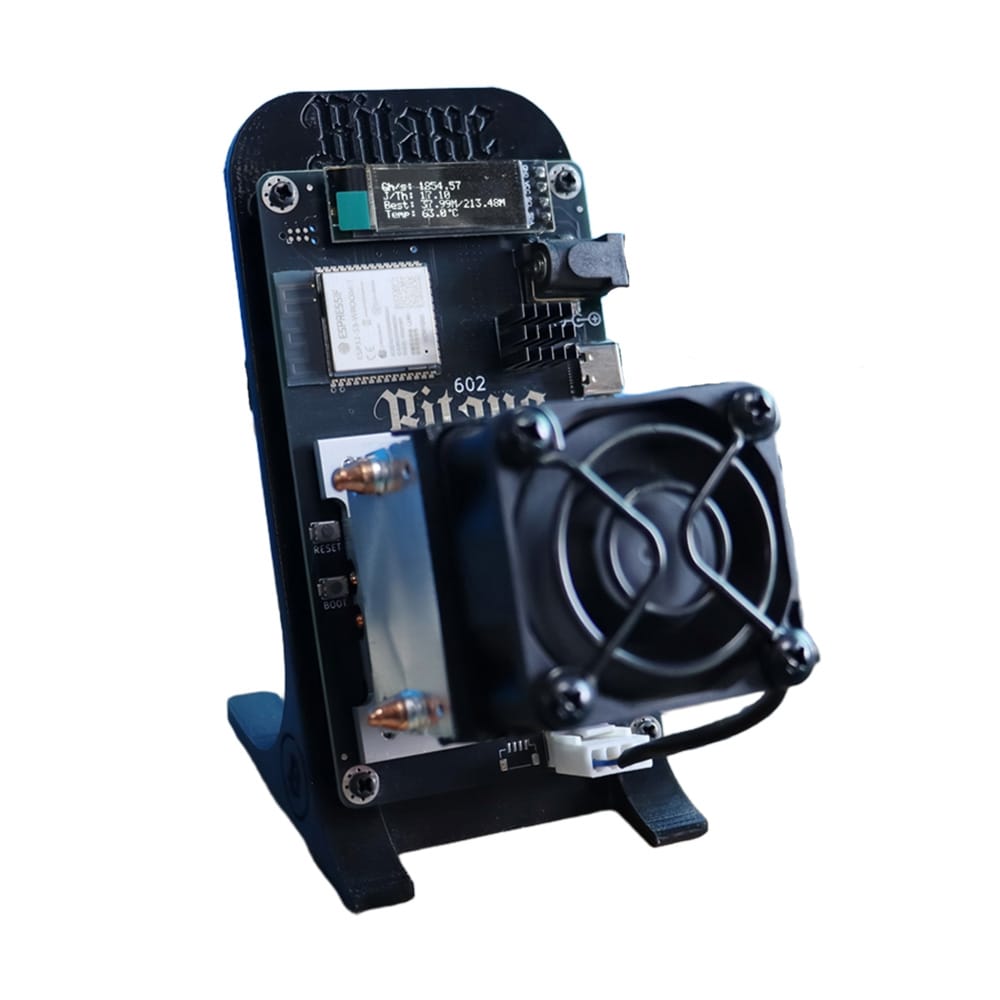
At the core of the Bitaxe Gamma 602 lies a single Bitmain BM1370 ASIC, governed by an ESP32-S3 microcontroller running AxeOS firmware. Unlike traditional USB miners that rely on external host computers, the Gamma 602 operates as an autonomous node. The hardware features a synchronous buck converter for precise voltage stepping, allowing the ESP32-S3 to dynamically adjust the ASIC core voltage (VCORE) and clock frequency via I2C communication.
Heat dissipation is managed by an active air-cooling system comprising a direct-contact heat pipe assembly and a PWM-controlled smart fan, designed to maintain silicon temperatures below 65°C during continuous 24/7 hashing loads.
Hardware Specifications
| Specification Parameter | DigLucky Gamma 602 Rating | Engineering Notes |
| ASIC Silicon | BM1370 | S21 Pro generation architecture |
| Nominal Hashrate | 1.8 – 2.0 TH/s ±5% | Varies based on ambient temp and silicon lottery |
| Power Consumption | 35W ±10% | Measured at the wall with OEM PSU |
| Power Input | 5V DC (DC Jack) | Strictly 5V. Overvoltage will permanently destroy the IC |
| Max Core Voltage | 1.25V | Exceeding triggers overcurrent protection (OCP) |
| Thermal Limit | 0°C – 35°C Ambient | Active throttling initiates above safe thresholds |
| Network Interface | 2.4GHz WiFi | 5GHz protocols are hardware-incompatible |
| Acoustics | < 40 dB | PWM fan scales dynamically with die temperature |
Step-by-Step SOP
Step 1: Power Delivery and Boot Sequence
- Place the Bitaxe Gamma 602 on a flat, non-conductive surface with unobstructed airflow for the intake and exhaust vents.
- Connect the included 40W Switching Power Supply (5V/8A) to the DC Jack.
- Engineering Warning: Never plug or unplug the DC jack while the AC side is live. Always connect the DC jack to the miner first, then plug the adapter into the wall outlet to prevent electrical arcing.
- The integrated OLED display will initialize, and the PWM fan will spin up to 100% briefly before settling to an idle RPM.
Step 2: Network Handshake (AP Mode)
- On initial boot, the ESP32-S3 will fail to find a known network and default to Access Point (AP) mode.
- Using a PC or smartphone, scan for a 2.4GHz WiFi network named
BitAxe-XXXX(where XXXX is the device’s MAC suffix). - Connect to this open network.
- Open a web browser and navigate to the AxeOS gateway:
http://192.168.4.1.
Step 3: Stratum Configuration
Within the AxeOS WebUI, navigate to the Settings tab. Input the following data:
- WiFi SSID: Your local 2.4G network name.
- WiFi Password: Your local network password.
- Stratum URL: The address of your chosen mining pool (e.g.,
stratum+tcp://pool.ckpool.org). - Stratum Port: The pool port (e.g.,
3333). - Stratum User: Your Bitcoin wallet address, followed by a worker name (e.g.,
bc1q...walletaddress.Gamma602). - Stratum Password: Usually left blank or
xdepending on pool requirements.
Click Save and then Restart. The device will reboot, drop the AP mode, and connect to your local router.
Step 4: Parameter Tuning (Optional)
To access overclocking parameters, navigate to your device’s new local IP address and append ?oc to the settings URL.
- Frequency: Adjust the ASIC clock.
- Core Voltage: Adjust VCORE. Do not exceed 1250mV (1.25V) to prevent catastrophic silicon degradation.
Technical Validation
Once rebooted, access the AxeOS dashboard via the device’s assigned local IP. Validate the following metrics:
- Hashrate: Should ramp up and stabilize between 1.8 and 2.0 TH/s within 5 minutes.
- Temperature: Monitor the ASIC Die Temp. Nominal operating range is 45°C – 60°C.
- Efficiency: Expected efficiency is roughly ~17-19 J/TH.
- Shares: Verify that “Accepted Shares” is incrementing. Hardware errors (HW) should remain below 1% of total shares.

DigLucky Factory Standard vs. Generic DIY Clones
When procuring desktop mining hardware, manufacturing tolerances directly impact device lifespan and stability.
- DigLucky Factory Standard: All Gamma 602 units undergo precision automated SMT assembly in our Shenzhen facility, ensuring exact solder paste volume for the BM1370’s dense BGA footprint. Before shipping, each unit undergoes a rigorous 48-hour thermal burn-in test at peak loads to validate the PCBA and thermal pipe efficacy.
- Generic DIY Clone Risks: Non-factory clones often utilize hand-soldered chips or refurbished BM1370 silicon salvaged from dead S21 boards. This leads to microscopic cold solder joints, inadequate VRM cooling, and frequent thermal throttling. Poor-quality thermal paste applied by DIY assemblers degrades rapidly, causing localized hotspots that permanently damage the ASIC.
Common Mistakes
- Attempting 5GHz WiFi Connection: The ESP32-S3 module lacks a 5GHz radio. Ensure your router broadcasts a dedicated 2.4GHz band.
- Voltage Mismanagement: Pushing the Core Voltage past 1.25V will trigger the 40W power adapter’s Over Current Protection (OCP), causing an infinite reboot loop.
- Improper Power Supplies: Using a 12V or 19V laptop charger (which often share the same barrel jack dimensions) will instantly fry the power management IC and the ESP32. Use 5V DC only.
FAQ & Troubleshooting
Q: The hashrate flatlines to 0 TH/s after a few hours, but the AxeOS web interface is still responsive. What is happening?
A: This is a known phenomenon often linked to pool stratum timeouts or VRM thermal limits. Check the AxeOS logs for stratum disconnect errors. If the pool is stable, verify the ambient temperature. If the voltage regulator module (VRM) overheats, it will throttle current to the ASIC. Ensure the exhaust vents are completely unobstructed.
Q: The device is stuck in a reboot loop immediately after showing the IP address.
A: This indicates voltage droop from an insufficient power supply, or the device is trying to draw more current than the PSU can provide during the ASIC initialization spike. Use a multimeter to measure the DC jack voltage under load; if it drops below 4.7V, replace the 40W power supply.
Q: AxeOS shows “Chip not found” in the system logs.
A: This signifies an I2C communication failure between the ESP32-S3 and the BM1370. This can happen if the device was dropped, damaging the BGA solder joints, or if an aggressive overclock caused a system hang. Perform a hard power cycle.
Factory Insight
At DigLucky, our Quality Control Process involves meticulous thermal validation. The BM1370 outputs intense heat relative to its surface area. We utilize industrial-grade thermal interface material (TIM) and precise torque-screwdrivers to mount the heat pipe assembly. This guarantees optimal mounting pressure, ensuring the delta between the die temperature and heatsink temperature remains within a strict 5°C margin.
Official YouTube Unboxing & Setup Tutorials
Ready to Start Your Project?
Get a factory-direct quote for your B2B project, or shop our B2C store for the best prices.