Did your solo miner suddenly stop hashing after a messy OTA (Over-The-Air) update? Is the OLED screen completely blank, or has the setup Wi-Fi hotspot vanished?
Don’t panic. You haven’t destroyed your hardware; you’ve simply “bricked” the software.
Due to the fragmented nature of open-source mining repositories, many users accidentally flash the wrong .bin files—such as mixing up firmware for BM1366 and BM1370 ASIC chips. This results in a boot loop or an unresponsive device.
At DigLucky, we believe in empowering our miners. In this guide, we provide the exact, factory-tested firmware files we use on our assembly line and show you step-by-step how to bring your machine back to life.
Step 1: Download Official DigLucky Factory Firmware
Stop guessing which branch of the GitHub repository you need. Below are the stable, factory-verified .bin files compiled directly by the DigLucky engineering team.
Download the file that matches your exact hardware model:
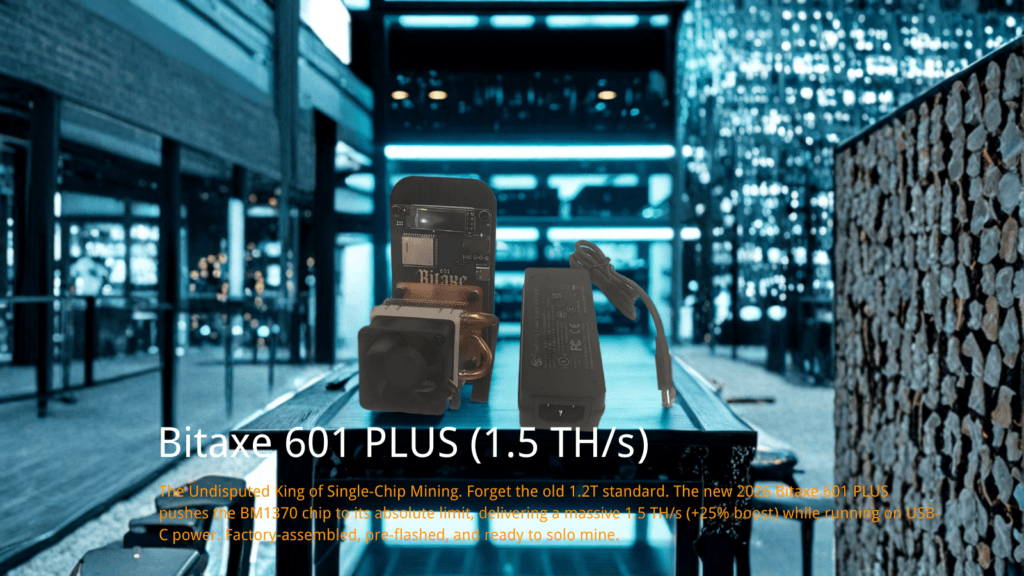
- For Bitaxe Gamma 601 (1.5T)
- Version: v2.12.2 (Stable for BM1370)
- 👉 Download Factory .bin File
- For NerdQAxe++ (6T)
- Version: v1.0.35
- 👉 Download Factory .bin File
- For NerdOCTaxe (12T)
- Version: v1.0.35
- 👉 Download Factory .bin File
(Note: The download links above use our official repository structure. Please ensure the files are saved locally to your computer before proceeding to Step 2.)
Step 2: Choose Your Flashing Method
Depending on how “bricked” your device is, choose one of the two methods below to restore functionality.
Method A: The “Unbrick” Flash (Via USB Cable)
Use this method if: Your miner won’t boot, the screen is dead, or you cannot see the setup Wi-Fi network broadcasting.
- Connect to PC: Plug your miner directly into your computer using a high-quality USB-C or Micro-USB cable.
- Crucial Warning: Ensure it is a data-sync cable, not just a cheap charging cable. If your PC doesn’t chime when you plug it in, try a different cable.
- Open ESP Web Flasher: Because our miners are powered by ESP32 microcontrollers, you can flash them directly from your browser. Open Google Chrome or Microsoft Edge and navigate to a secure ESP Web Flasher (such as the official ESP Web Tools).
- Connect to Port: Click “Connect” on the web page and select the COM port matching your miner from the popup menu (e.g.,
USB Serial Port (COM3)). - Upload the
.bin: Select the exact factory.binfile you downloaded from DigLucky in Step 1. - Erase and Flash: Hit “Install” or “Flash.” Make sure to check the “Erase All Data” or “Wipe Flash” option—this is vital to ensure old configuration conflicts are completely cleared.
- Wait for Reboot: Do not unplug the device. Once the progress bar reaches 100%, your miner will automatically reboot, and the factory settings will be fully restored!
Method B: The Web GUI Update (OTA Override)
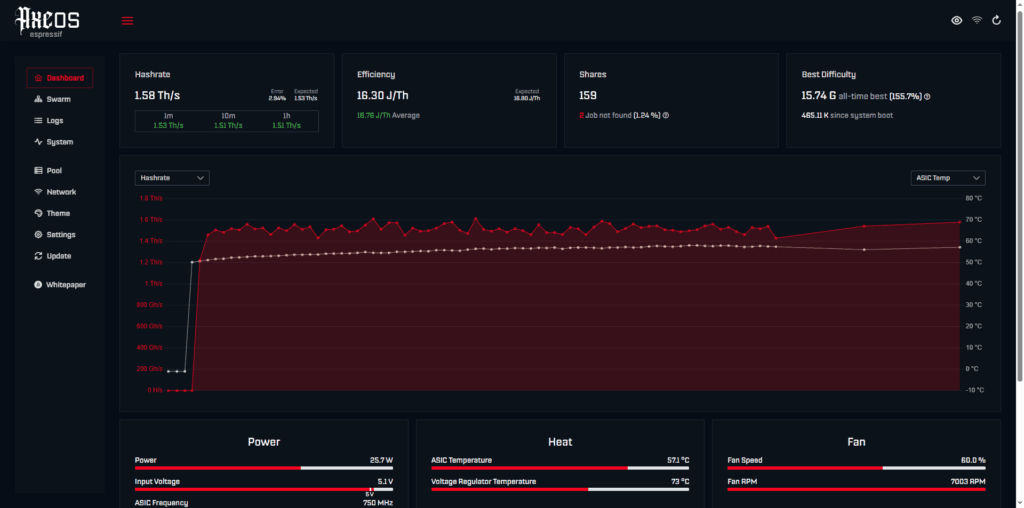
Use this method if: Your miner still boots and you can access the local AxeOS dashboard, but it is hashing poorly, dropping pool connections, or acting buggy.
- Access Dashboard: Go to your miner’s local IP address on your web browser.
- Navigate to Updates: Go to Settings > System > OTA Update (or Firmware Update, depending on your current version).
- Select File: Click Choose File and select the DigLucky factory
.binfile you downloaded earlier. - Flash: Click Upload/Update. Wait for the device to process the file and reboot. Your firmware is now cleanly overwritten with our stable factory build.
The DigLucky Factory Guarantee
Open-source solo mining is an incredible journey, but dealing with bricked boards, mismatched chips, and firmware bugs can be exhausting.
If you want to skip the troubleshooting and get straight to Solo Mining, check out our lineup of Factory-Direct Solo Miners. Every DigLucky unit is pre-flashed with the most stable firmware, stress-tested for 72 hours on our facility floor, and guaranteed to hash perfectly out of the box.
Ready to Start Your Project?
Get a factory-direct quote for your B2B project, or shop our B2C store for the best prices.