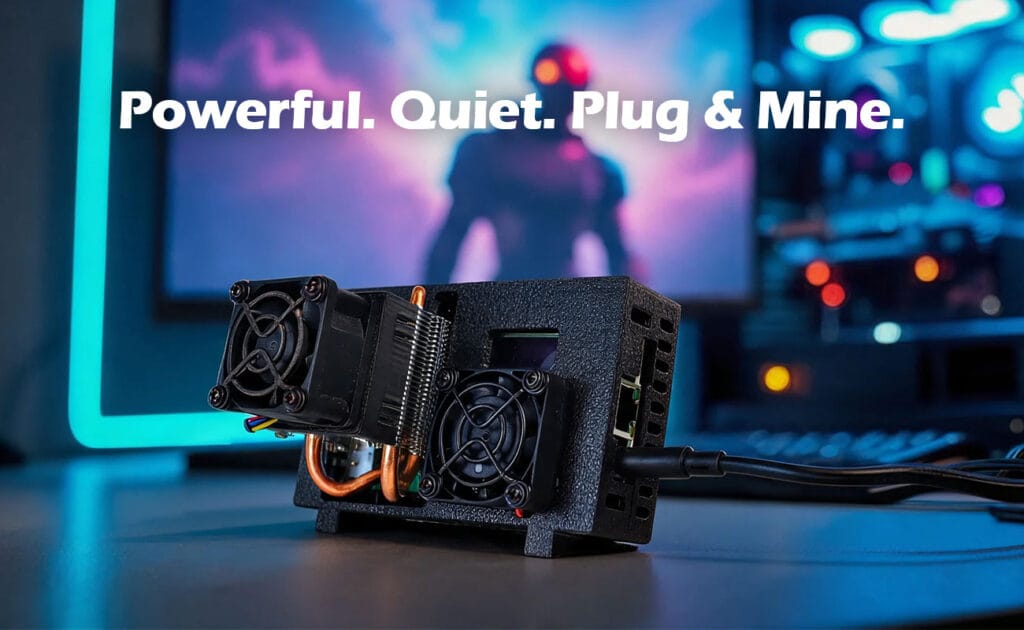
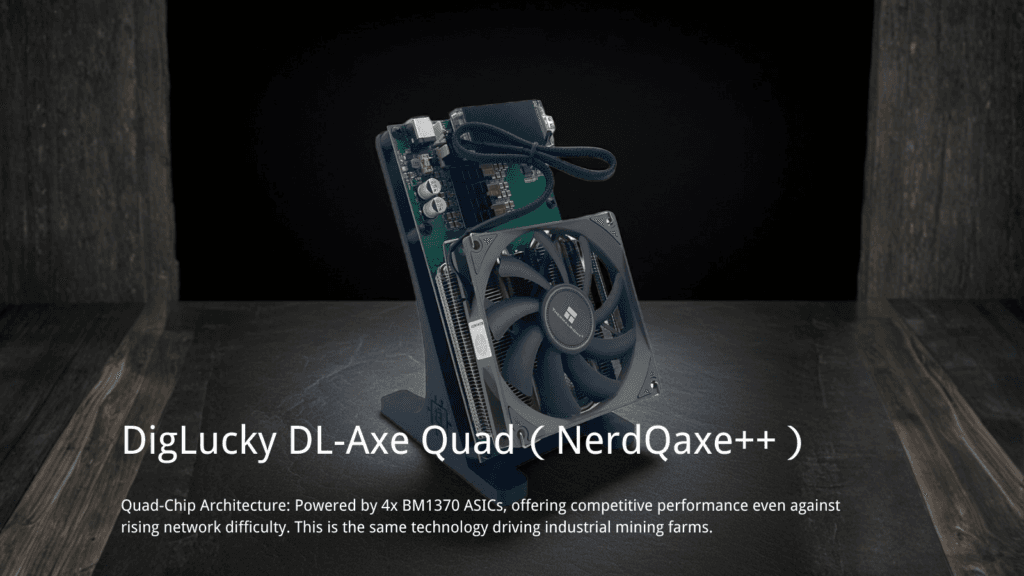
Welcome to the lab. If you are reading this, you likely own a NerdQaxe++, our quad-chip powerhouse that packs four Bitmain BM1370 ASICs into a desktop-friendly form factor. You aren’t just here to plug it in; you’re here to push it.
As specs go, the standard NerdQaxe++ is rated for 4.8 TH/s. But as any hardware geek knows, “stock settings” are just a suggestion. Many of you are chasing the elusive 6 TH/s barrier to maximize your probability in the solo mining lottery.
This guide will walk you through the precise methodology for tuning voltage and frequency on the AxeOS firmware. However, be warned: high performance requires high-end hardware support.
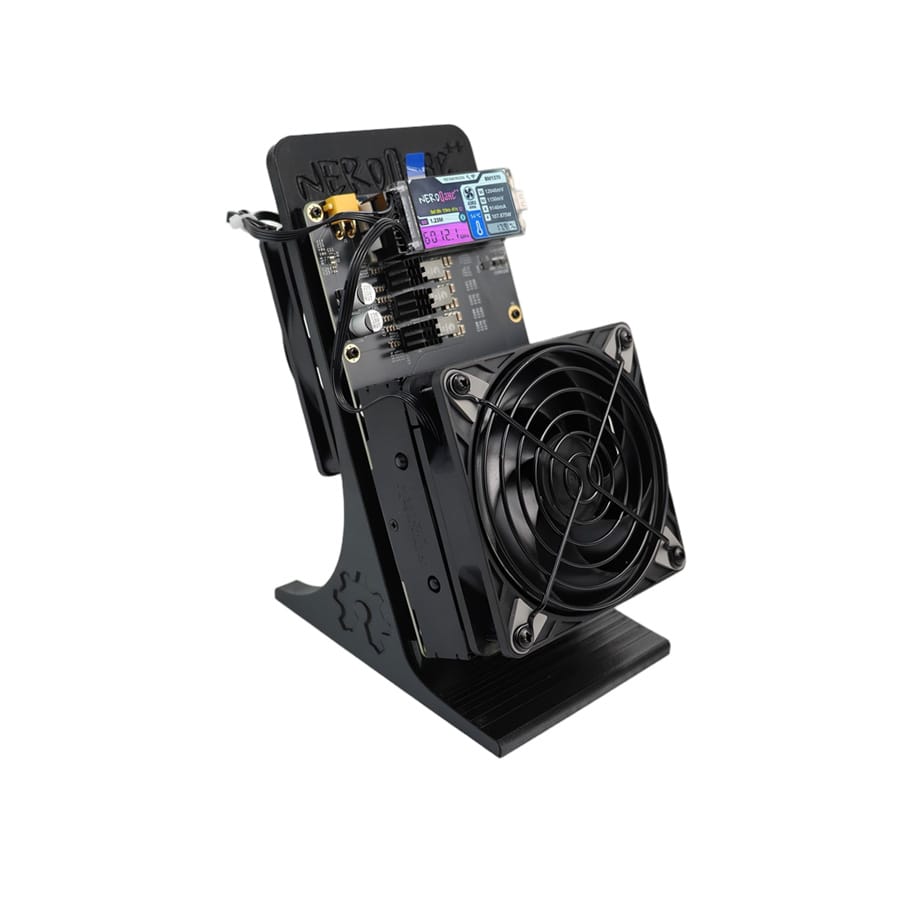
The 6 TH/s Frontier: Why Hardware Matters
Before you start sliding frequency bars to the right, you need to understand the physics of what you are doing. At DigLucky, we have already achieved a mass-produced NerdQaxe++ 6T solution, but we didn’t do it just by changing software settings.
We redesigned the ecosystem.
To sustain 6 TH/s reliably, our engineering team implemented two critical hardware upgrades in our production units:
1. Power Delivery: We utilize the TN30 120W power supply. Stock 60W or 75W adapters simply cannot deliver the amperage required for stable 6T hashing without voltage droop or fire risks.
2. Thermal Management: We completely overhauled the heat dissipation hardware.
Warning: If you attempt to push a standard 4.8T unit to 6T without these hardware upgrades, you risk rapid degradation of your ASIC chips due to thermal saturation and unstable power delivery. Long-term overclocking without the right hardware support is a recipe for a burnt paperweight.
Prerequisites: Unlocking “God Mode” in AxeOS
If you have the hardware to handle it, here is how to access the advanced controls:
1. Find Your IP: Connect your NerdQaxe++ to WiFi and locate its IP address on the LILYGO display.
2. Access the Dashboard: Enter the IP into your browser.
3. Unlock Settings: To expose the frequency and voltage fields, append ?oc to the end of your settings URL (e.g., http://192.168.1.50/#/settings?oc).
Step-by-Step Tuning Strategy
We use a “Step and Stabilize” methodology.
Step 1: Establish a Baseline
Start with a known stable configuration. For the BM1370, a solid starting point is 0.78V core voltage. Ensure your fan is set to Automatic Fan Control or 100% manual if you are pushing limits.
Step 2: The Frequency Climb
Increase your frequency in small increments, typically 25 MHz at a time.
1. Navigate to Settings > Frequency.
2. Input your new value (e.g., if stock is 485 MHz, try 510 MHz).
3. Save and Restart.
Step 3: The Stability Test
After rebooting, let the miner run for at least 20 minutes. Watch the dashboard for:
• Hashrate: Is it consistent?
• HW Errors: A continuous stream of hardware errors indicates instability.
• Temperature: This is critical.
Step 4: Voltage Correction
If the miner crashes, you have two choices:
• Option A (Power Hungry): Increase the Core Voltage by small steps (e.g., 20mV). Do not exceed 1300mV unless you have our liquid cooling or upgraded heatsink solutions.
• Option B (Efficiency): Drop the frequency back down.
The Verdict: Manual Tuning vs. DigLucky Factory Solutions
Manual overclocking is a fantastic way to learn about ASIC architecture and thermal dynamics. It represents the spirit of the “geek” culture we love.
However, if your goal is a set-and-forget mining experience that runs reliably for years, manual tinkering has its risks.
The most reliable solution is to purchase the mature DigLucky NerdQaxe++ 6T product directly.
Why gamble with your hardware?
• Proven Stability: Our 6T units are factory-validated with the TN30 120W PSU and enhanced cooling already installed.
• Zero Headache: No crashing, no reflashing firmware, no burnt chips. Just plug, play, and hash at maximum velocity.
Stop guessing. Start Hashing. Shop the factory-tuned NerdQaxe++ 6T and spare parts at the DigLucky Store
Ready to Start Your Project?
Get a factory-direct quote for your B2B project, or shop our B2C store for the best prices.